Red Velvet Cake
This Red Velvet Cake is classic, moist, sweet, and perfect for any occasion. This simplified version making an 8″ cake is perfect anytime.
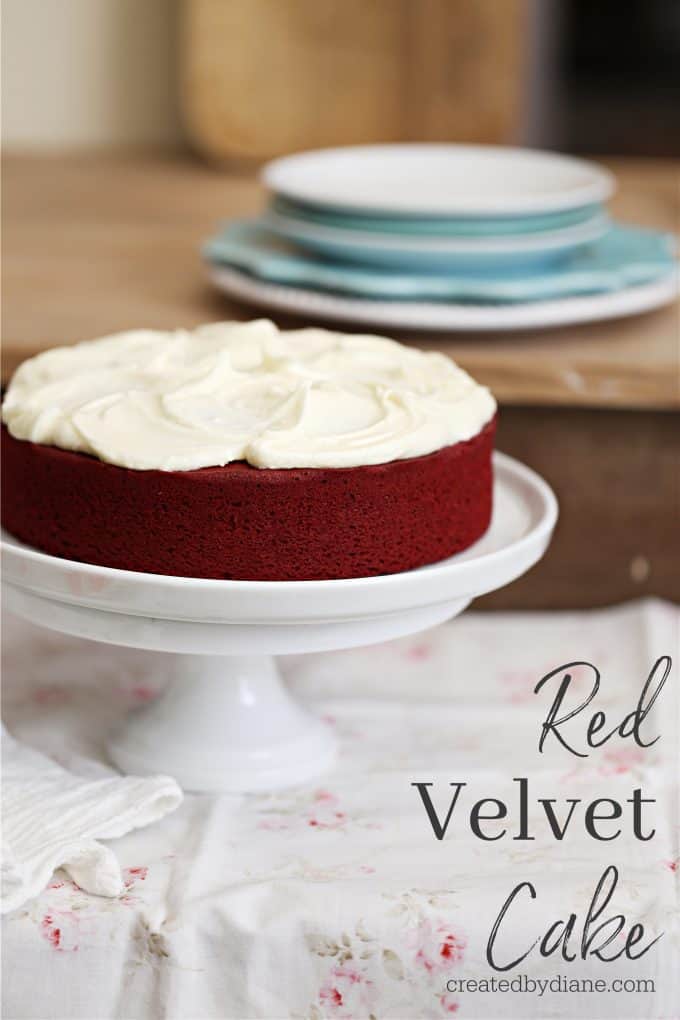
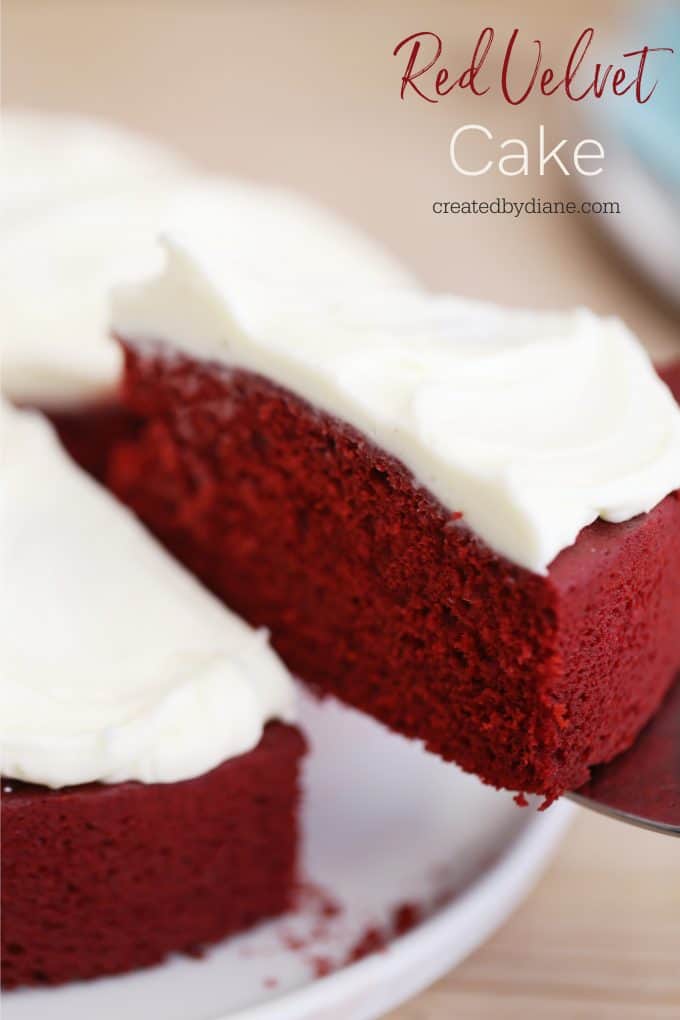
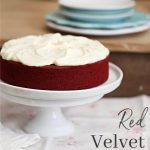
I love everything about red velvet cake, from the icing to the deep crimson color.
Historically, red velvet cake was just chocolate cake tinted red from the acid in cocoa powder. But today most cocoa powders are alkalized, or stripped of acid. Though if you want to get super traditional you can find non-alkalized cocoa powder in specialty baking shops or online. We’ll be using red food coloring for ours as this is widely available.
And the cream cheese topping balances the lovely chocolate flavor of the cake which is not too rich, but perfectly sweet. Cream cheese frosting is probably one of my favorites to use on cakes and cupcakes. But if you’re not a fan of cream cheese frosting, I have plenty of other recipes for icing that may just do the trick for your individual tastes! Such as:
- Oreo Frosting for a playful shake up this old classic cake
- Raspberry Frosting to add a little fruity flirtation to your chocolate appetite
- Red Velvet Frosting for doubling your fun
- Italian Buttercream Frosting adds a classical touch to an already classy cake
And if you need another alternative to cream cheese frosting, maybe you don’t’ have any,.,.. give this cream cheese substitute version a try, it’ll fool anyone into thinking there is cream cheese in it.
And if those don’t float your boat, there’s many, many more on my website, as well as cupcakes and cakes galore! Eat your heart out!
Let’s begin, I’ll walk you through the cake and then the frosting.
Preheat your oven to 350°
Prepare an 8″ round cake pan with a baking spray or shortening and flour pan for easy release.
In a medium bowl mix the sugar and eggs until fluffy, you may do this using a whisk or electric beater.
Slowly add in the flour, baking powder, and baking soda. Mix to spread to fully incorporate the ingredients. Then begin adding the buttermilk, melted butter, and oil.
Mix on medium low, then add in the dutch cocoa, vinegar, vanilla, and red coloring, mix to combine so everything is evenly incorporated.
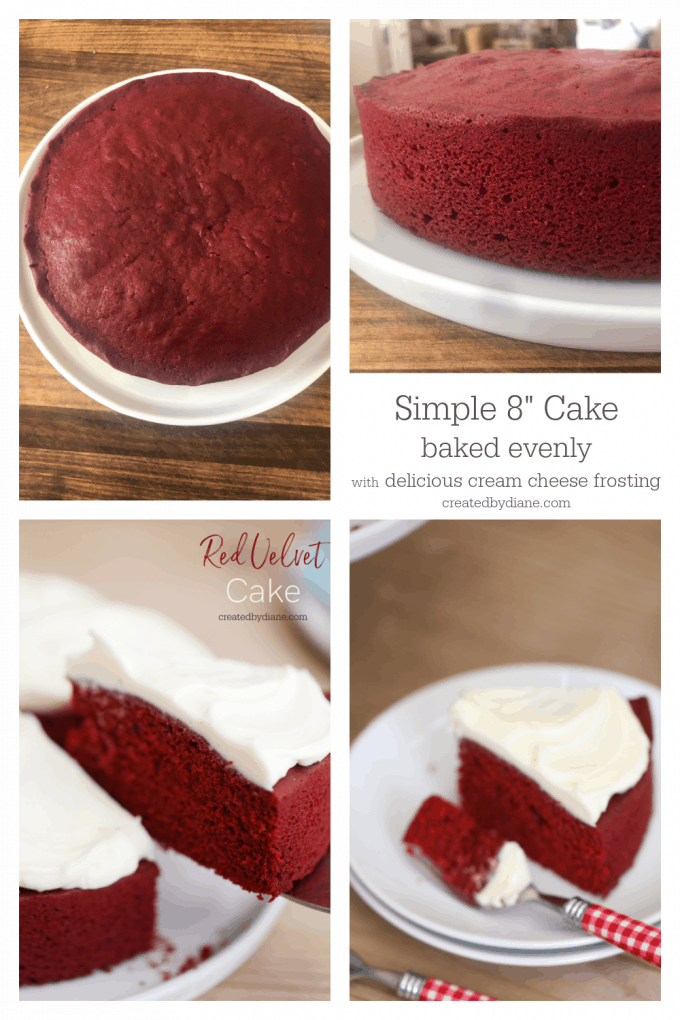
Place batter into a prepared pan and bake at 350° for 30-35 minutes or until a toothpick comes out clean.
Remove cake from the oven, allow it to cool for 10 minutes. Then turn the cake out of the pan onto a cooling rack. A spatula can help in this if needed.
At this point you’ll want the cake to cool completely before frosting, while it does so, you can mix the frosting.
In a bowl with a whisk or electric beater beat the cream cheese and butter until smooth.
Gradually add in the powdered sugar as you beat. Then add in heavy cream and vanilla.
Whip until smooth and creamy.
Spread frosting onto the top of the cooled cake, use the back of a spoon to create swirls.
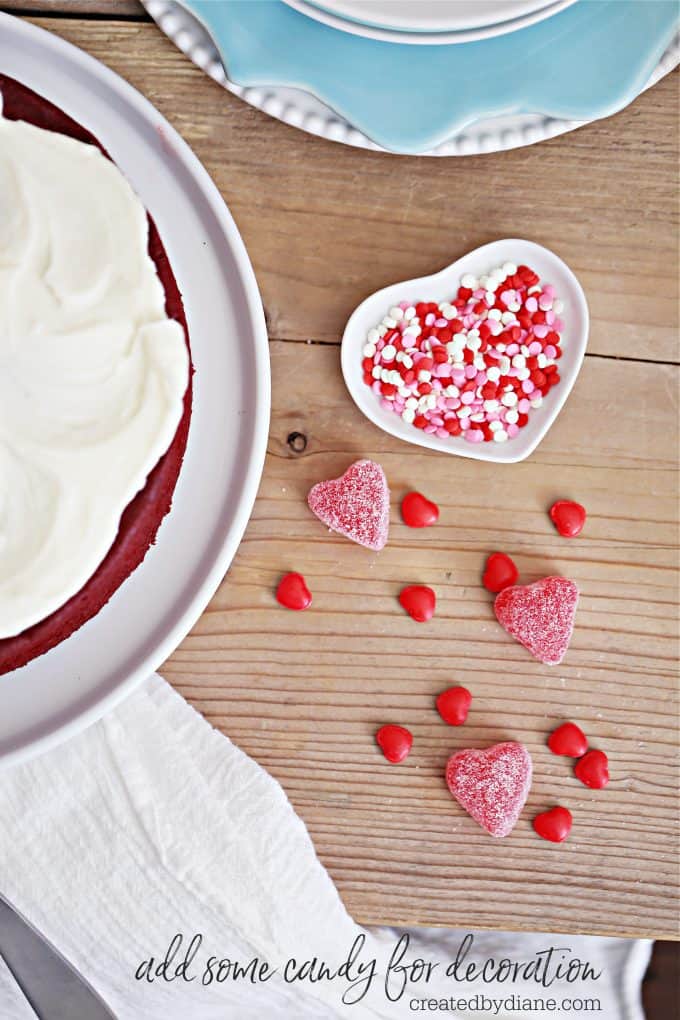
Top with candy or sprinkles if desired and serve.
Store in the fridge for keeping….That is IF you can keep your hands off of it!
Let’s go shopping!
Here are a few items I love using to make cake baking easier and help with great results every time.
This is the 8″ round cake pan I use. They are thick and sturdy and heat evenly which helps the cake bake evenly.
To ensure the cake will be flat and not domed, making it look smooth and easy to add the frosting too and slice for great results, I use these baking strips they are simple to wrap around the cake pans and the cake bakes evenly preventing the outer edges from over baking and becoming dry as a domed cake will need more baking time fo the “thicker” center to finish baking.
I most often use a small offset spatula to apply the frosting and then use the back of a spoon to create the swirls.
And I just love white cake stands, they not only look great with a beauty like this cake on top of it but they help to raise items up in the fridge sometimes too!
I use a concentrated coloring to give the cake a pretty vibrant red color and I’ve made the cake with this Red Velvet Baking Emulsion Flavoring and make it without both were delicious, the Red Velvet Flavor has the red color added if you want to give it a try.
If you don’t often purchase buttermilk or don’t have any there are a couple of options, this Dry Buttermilk is a great substitute, this is another option How to Make Buttermilk if you’re never tried it, it’s really simple.
Did you know that by shopping on Amazon thru the links I’ve provided, most often thru Amazon you are helping keep the lights on at created by Diane, and at no additional cost to you. I link items I’ve used to make the recipe or items I think may help, some posts I have are just Items I truly love and use. I often get emails and question about products I use and sometimes remember to include them when I’m publishing a post, sometimes I add the links later if I get many questions on a particular item or feel it may be helpful. I appreciate your support and it’s my mission to provide the highest value content to you.
Questions Asked and Answered
What’s the best way to flour a pan?
If I don’t have baking spray, I’ll use a little bit of shortening rubbed around the pan. I’m careful to get both the bottom and the sides and any crevices. Then, I’ll take a couple of tablespoons of flour and carefully, shake the flour around it until it’s covered. Discard the excess flour.
Is there a better brand of food coloring you’d recommend?
I use Americolor food coloring or Chefmaster food coloring with great results, no off taste and the colors are vibrant. I have also used Red Velvet Baking Emulsion.
Can the cream cheese frosting be made ahead of time?
Yes, absolutely. Just be sure to store it in an airtight container. I recommend letting it come to room temperature for about 20 minutes or so before spreading it on the cake. It makes spreading it easier.
You can find more of my Red Velvet Recipes here, I really need to make the red velvet pancakes this week.
Red Velvet Cake
Ingredients
- 1 cup granulated sugar
- 2 eggs
- 1-1/4 cups flour
- 1/2 teaspoon salt
- 1-1/2 teaspoons baking powder
- 1/2 teaspoon baking soda
- 1/2 cup buttermilk or options are given in post
- 1/4 cup melted butter
- 2 tablespoons oil
- 2 tablespoons dutch cocoa or other unsweetened cocoa
- 1 teaspoon white vinegar
- 1 tablespoon vanilla
- 1-2 tablespoons concentrated red color or red velvet baking emulsion or extract
Cream Cheese Frosting
- 1 oz cream cheese room temperature
- 2 tablespoon butter room temperature
- 1 1/2 cups powdered sugar
- 2 tablespoons heavy cream
- 1/2 teaspoon vanilla extract
Instructions
- Preheat oven to 350°
- Prepare an 8" round cake pan with a baking spray or shortening and flour pan for easy release.
- In a medium bowl mix the sugar and eggs until fluffy. (use a whisk or electric beater)
- Add in the flour, baking powder, baking soda, mix to spread around the dry ingredients, and then begin adding the buttermilk, butter, oil.
- Mix on medium-low, then add in the dutch cocoa, vinegar, vanilla, and red coloring, mix to combine so everything is evenly incorporated.
- Place batter into prepared pan and bake at 350° for 30-35 minutes or until a toothpick comes out clean.
- Remove cake from the oven, allow to cool 10 minutes, then turn the cake out of the pan onto a cooling rack.
- Let cake cool completely before frosting,
- Mix frosting while cake cools.
- In a bowl with a whisk or electric beater beat the cream cheese and butter until smooth.
- Mix in the powdered sugar, heavy cream, and vanilla and whip until smooth and creamy.
- Spread frosting onto the top of the cooled cake, use the back of a spoon to create swirls.
- Top with candy or sprinkles if desired and serve.
- Store in the fridge.
So,I’m looking for a red velvet cake. I already own a heart shaped pan. Will this work? Thanks,Cindy
You can bake this cake in any shape pan you prefer, or bake it into cupcakes. I don’t know what size your heart cake pan is, if it’s larger the cake will just be thinner.