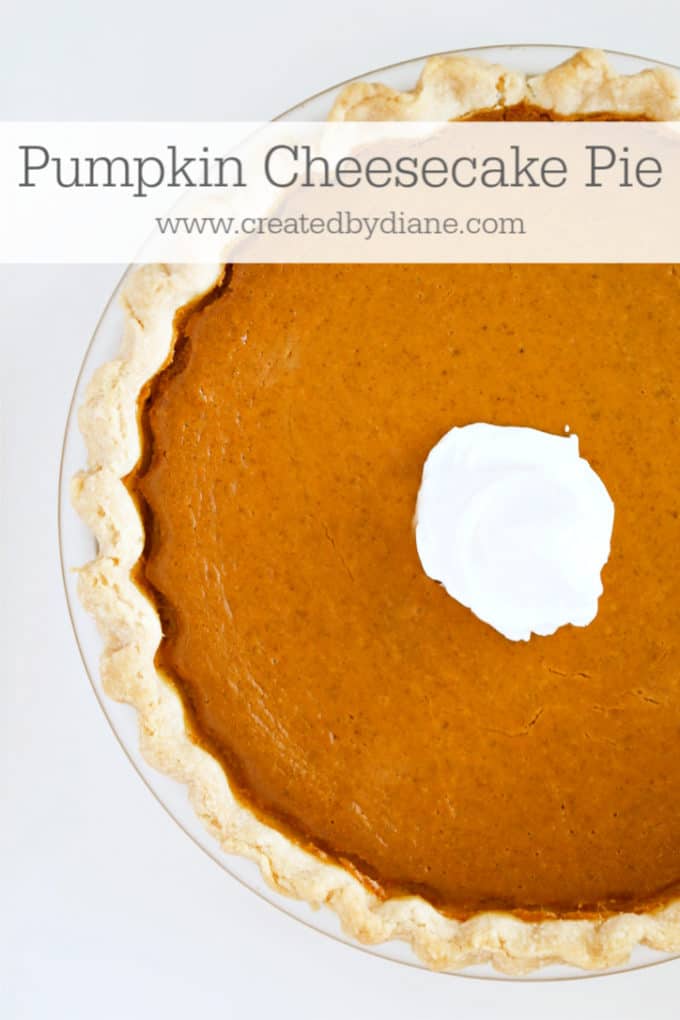
Pumpkin Cheesecake Pie
Truth be told I love pumpkin pie, but if you’re like me and do not like it when it gets watery… this PIE will be your new favorite.
I’ve always used the recipe for making pumpkin pie on the side of the can of Libby’s Pumpkin, plus adding one more egg, my mom always did that.
This time I wanted to make the pie a little thicker, a little richer in texture and taste and no better way than to give blend in some cheesecakey-ness… oh yes, the greatness of cream cheese blended in to make this pumpkin pie even more spectacular than ever.
So for this pumpkin pie I changed up a couple of items, I didn’t use sweetened condensed milk, I opted for heavy cream instead. I reduced the sugar as well, I really don’t like overly sweet desserts or pumpkin items that are overspiced.
The result is a delicious velvety pumpkin pie that EVERYONE is raving over. Really even the types that say they don’t like pumpkin pie like it! YAY!
I like turning cheesecake into pie… be sure to check out my Cranberry Cheesecake Pie too.
I love PIE, and I have a really great way to make pie crust… try my Easy Pie Crust Made in the Food Processor (the recipe makes 2 pie crusts) so go ahead and make a pie for someone special while you’re already baking.
The pie filling is really a quick ONE-STEP filling, no separate recipes to layer… that’s too fussy more my pie, just mix everything up and pour it in a pie crust.
WHAMO- the perfect combination of flavors.
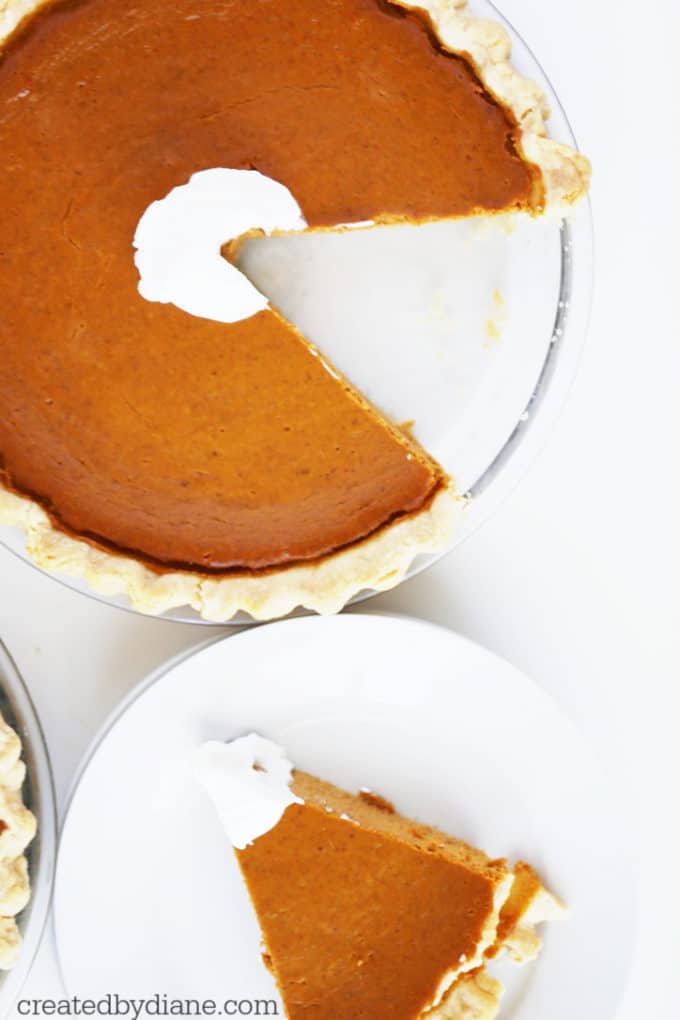
There are so many things I like about pie… one is you don’t need to have it be perfect, just slice it up and enjoy it. If the crust cracks, or falls off… just grab a fork and enjoy and remember the hardest piece to remove it always the first one.
I always stress over cutting the first slice, and when I’m taking photos it really stresses me out, this time…
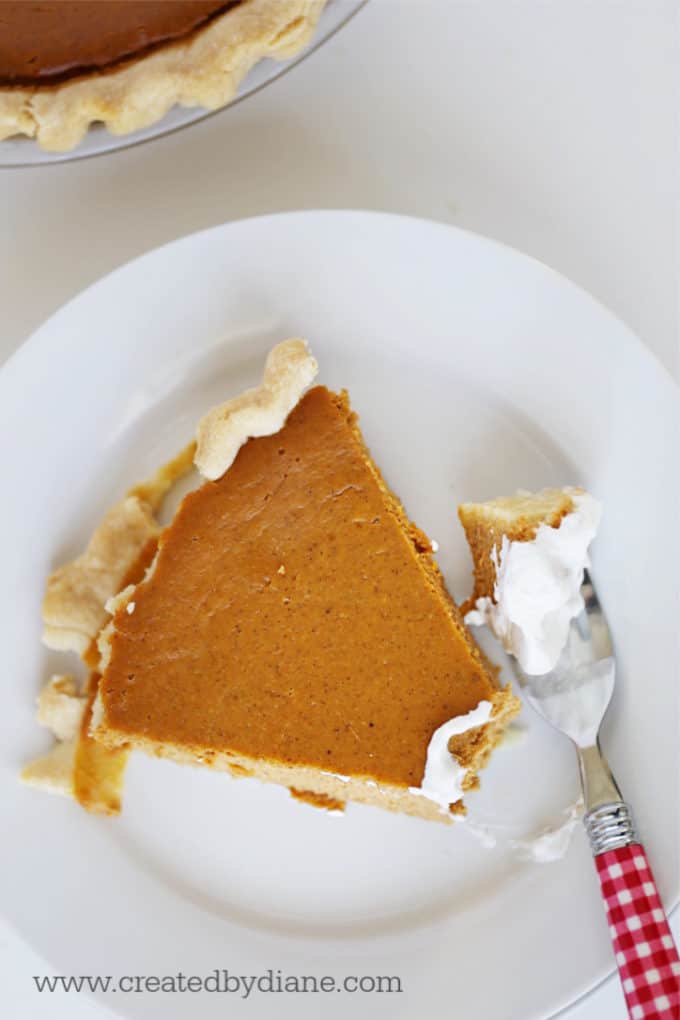
I just sliced it up and plated it. And you know what it tasted as good as the second “perfectly cut” piece!
Not gonna lie, when it comes to pie, I always want seconds!
Here are some items I used to make this recipe:
Anchor Hocking 9″ glass pie plate
5-qt Artisan Kitchen Aid Mixer (not sure what I’d do without this one!)
Cuisinart Hand Mixer (I use this daily, and used it to make the whipped cream)
Pumpkin Cheesecake Pie
Ingredients
- 1 unbaked pie crust rolled out and placed into a pie plate (filling is about 4 cups)
- 8 oz cream cheese at room temperature
- 1/3 cup granulated sugar
- 1/2 cup brown sugar
- 15 oz pumpkin puree
- 1 teaspoon cinnamon
- 1 teaspoon pumpkin pie spice
- pinch of salt about 1/8 teaspoon
- 1 teaspoon vanilla bean paste or vanilla extract
- 2 eggs use large eggs
- 1/2 cup heavy cream
- *whipped cream for topping
Instructions
- Preheat oven to 400°
- In the bowl of a mixer beat cream cheese with granulated sugar and brown sugar until smooth.
- Mix in pumpkin, cinnamon, pumpkin pie spice, salt, and vanilla.
- Beat in eggs and heavy cream.
- Be sure to scrape down the sides at each step to ensure everything is combined well.
- Pour the filling into the unbaked pie crust.
- Now turn your oven to 350° And bake the pie for 49-50 minutes the center will be set but not firm and not giggly. A knife or toothpick tested 3 inches from the edge should come out clean.
- Be sure to not overbake it, as it will then be dry and the center will crack.
- Remove pie from oven and cool on a rack for 2 hours, then put the pie in the refrigerator until it's completely cool at least 3 hours.
Hi have you ever frozen this pie after baking?
Hi Jennie, I have not frozen this pie. But if you’d like to, allow it to cool completely, then wrap it in plastic wrap then foil, to ensure the crust is protected and doesn’t get bumped into while freezing, or place in the fridge overnight and double wrap in plastic and place in freezer (in the pie dish). Thaw in the fridge overnight to ensure it has enough time to thaw before serving.
i appreciate your article, thanks