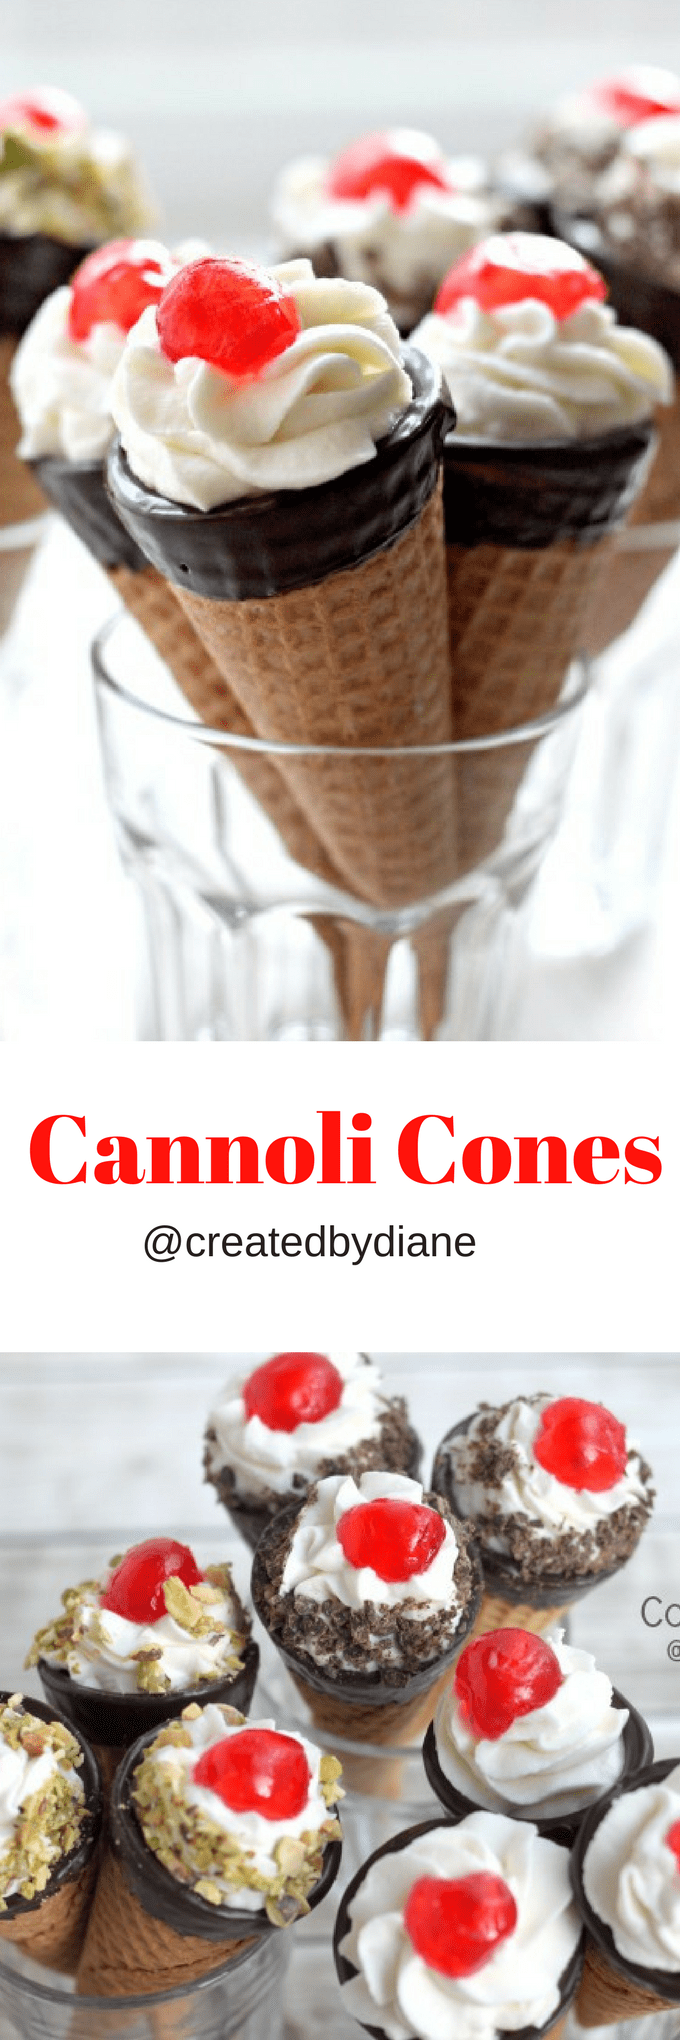
Cannoli Cones
Cannoli Cones
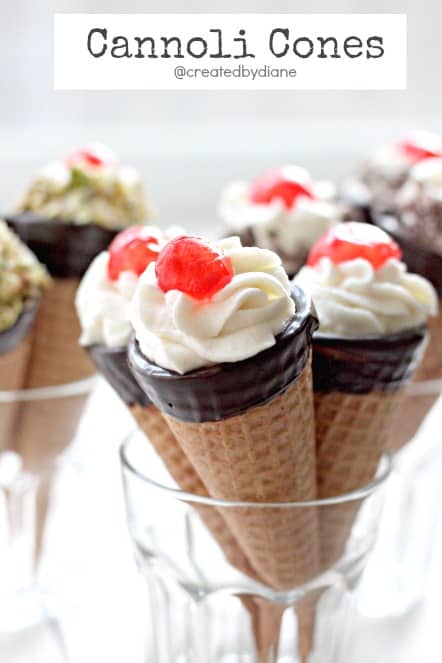
These may look like ordinary ice cream cones, but Oh trust me these are different!
These are Cannoli Cones.
Sugar cones filled with the light and delicious Cannoli filling.
Cannoli’s have always been a favorite of mine.
These are the quickest and easiest cannoli’s ever.
They are sugar cones (ice cream cones) dipped in chocolate, then topped with a cherry, pistachios or more chocolate.

Dip cones in melted chocolate.
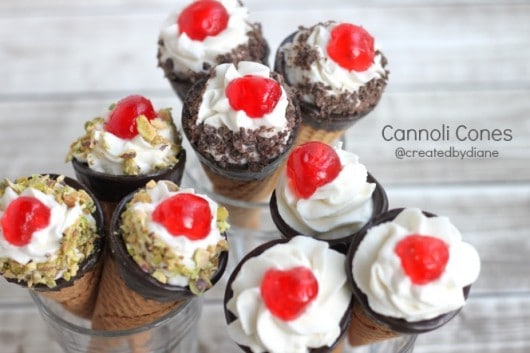
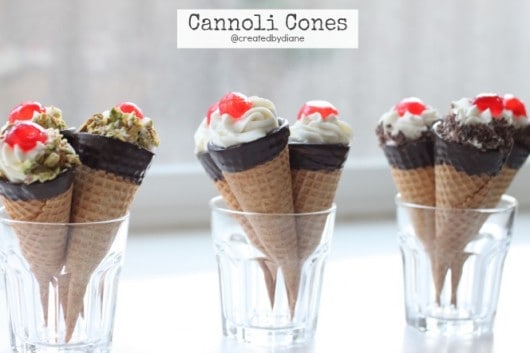
Then prepare the filling and fill the cones, top them with your favorite cannoli topping of pistachio, chocolate shavings or chocolate chips maybe slivered almonds and place a candied cherry on top for fun!

Cannoli Cones
Ingredients
- 12 sugar cones
- 3/4 cup melted chocolate I used Merckens Dark Chocolate Wafers
- 1/2 cup heavy cream
- 16 oz ricotta cheese whole milk ricotta
- 1/2 cup powdered sugar
- 1/2 teaspoon vanilla extract
- Garnish:
- candied cherries pistachios, chocolate shavings/chips
Instructions
- Dip cones into melted chocolate so the edges are covered and the cone is about 1 inch.
- Set cones in a shallow cup to dry or on wax paper.
- Whip heavy cream until stiff peaks form.
- Mix in the ricotta cheese, powdered sugar and vanilla extract until smooth.
- Place the mixture in a piping bag fitted with a star tip, I used a 2D tip.
- Fill each cone and tip them with your favorite cannoli topping, and add 1/2 a candied cherry on top.
- These are best filled just before serving.
- The chocolate on the cones and the filling can be done ahead of time.
- Keep filling refrigerated.
This is the cute and fun anytime NO-BAKE dessert that is a crowd pleaser!
If I make these for a graduation party how far in advance can I stuff them
I would stuff them as close to serving as possible or the filling will soak into the cone, (they only take a few minutes to fill) like with traditional cannolis. As soon as you stuff them put them in the fridge. I’ve filled them a couple hours before serving with good results kept them in the fridge until I served them.
Every time I see these, I say I have to make them. Maybe I’ll actually get around to it one of these days… they look so good and I’l take any excuse to eat cannoli filling.
I’ve got to try these. What a brilliant idea!!
What a fun way to enjoy cannoli flavors! They make such a great presentation.
Yum times a million! These are so cute and have my mouth watering! Probably shouldn’t be reading this during breakfast. 🙂 I’ll pin for later!
I’ve never made cannoli as the whole shell and super complicated! This looks like the perfect way for me to make them yummo!
Fun idea Diane – Happy New Year!
These are so flippin’ adorable!
too cute! Happy New Year!
You’re a genius! Eating the cream out of a cone instead of regular cannoli means that it won’t come squirting out the other end (I hate it when it does that). They’re adorable and practical.
Hoping to try these soon! They look so simple yet so delicious!!
What an easy way to enjoy delicious cannolis!
I’m so obsessed with these…so genius, Diane!! LOVE THEM! Happy new year!!
So fun! Wishing you a very happy new year!