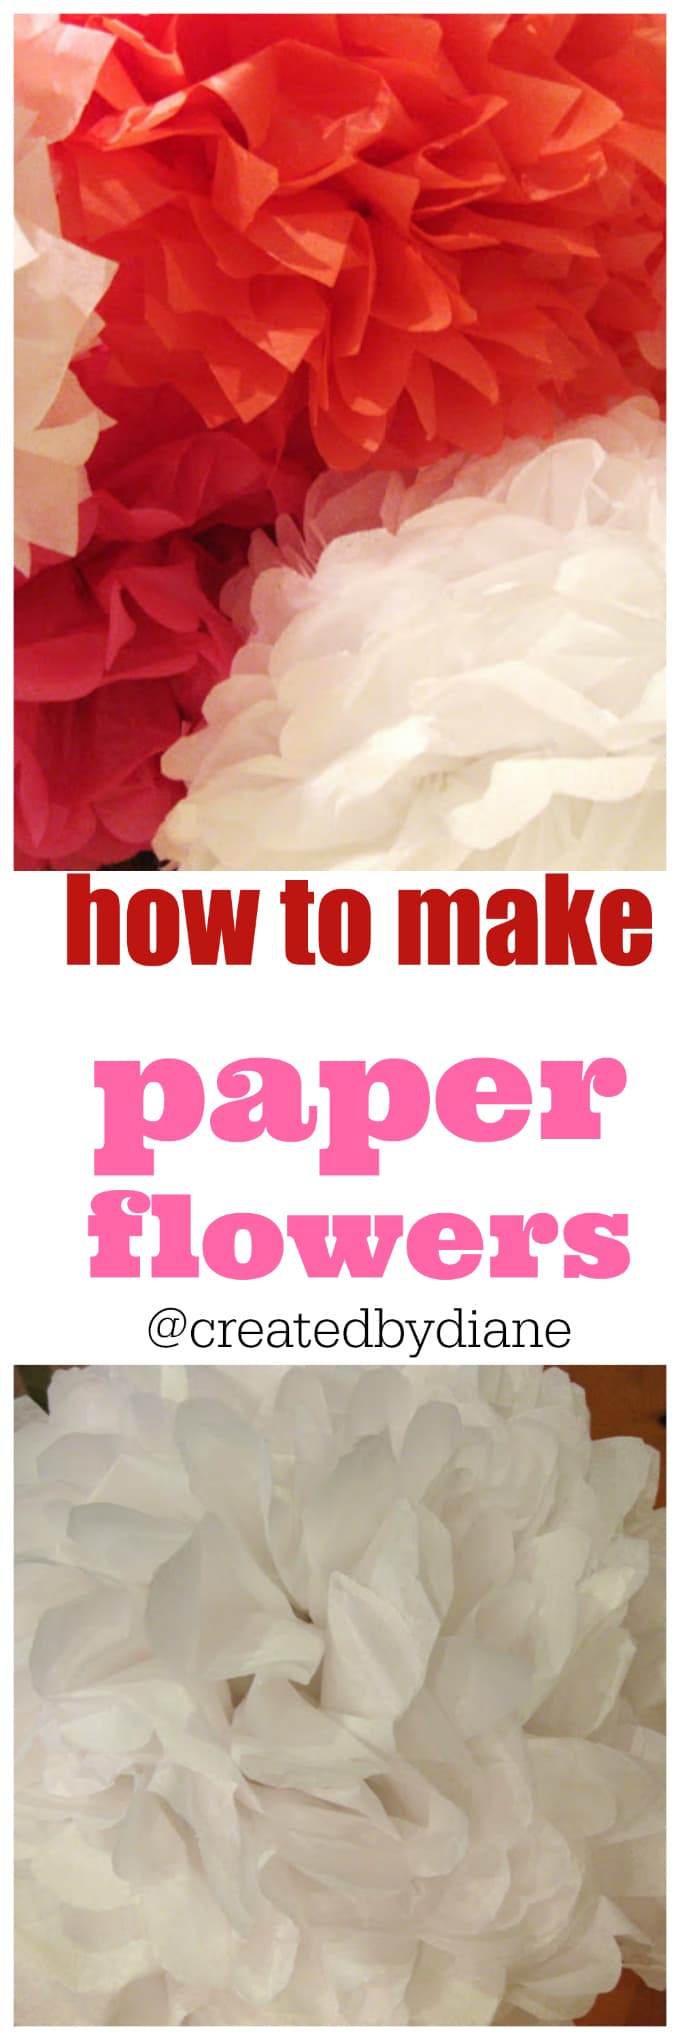
How to make Tissue Paper Flowers
The last time I remember making paper flowers was when I was about 13 and it was my father’s 25th High School Reunion. I remember I made a giant one for the center of the room that hung from the ceiling that was blue and lavender, and small arrangements for each table.
I’ve always loved crafts 🙂
I thought it would be fun to make some for a Party
To decorate I made some paper flowers.
Here is how to make them
you will need
* tissue paper (about 17 pieces per flower, wire to secure it together or a pipe cleaner-I used floral wire)
*ribbon to hang from
*scissors (in the photo I had my kitchen scissors handy but quickly switched to my crafty-orange handles Fiskars)
*pencil (to mark the edge design)
I tie a look in the ribbon and thread the wire through it
then secure it around the center of the flower, and twist the wire to secure it.
draw the shape I want on the end, round or a point I think is easiest.
cut a few folds at a time if you have trouble doing it all at once.
fan out each side and begin lifting one piece of tissue paper at a time to the center
as you can see it take shape very quickly, but be careful it can rip easily. When you are finished with both top parts, turn the 1/2 finished flower and do the bottom.
here is the finished flower
I had some from a kit I purchased and added more that I made, they are very easy and you can make them in any color to coordinate any decor.
I hung a couple in each room but now wished I had grouped them together-I hung them at the last minute and was running out of time so maybe next time I will have it better planned out.


very cute!!
Hello, I saw you on Amy's site Just add Walter. I am the other Amy that is hosting the Round Robin. I am stopping by to give you my link. I would love for you to stop by and link up this wonderful idea. I have always wanted to know how to do this. I hope you stop on by.
Here is my link: https://keepingupwiththeschultzfamily.blogspot.com/2010/01/round-robin-10.html
Have a great weekend..
I've always wanted to make these, but they looked intimidating. You make it look so easy though!
I am so happy you came by. I hope you enjoy the Round Robin. It is so good to meet you. I am now following you.. Thanks again..
soooo cute!
Oh, I need to try this! They came out perfect! Cupcakes on your header look delicious! Have a great weekend!
Oh my gosh!! Something so simple turned out to be absolutely gorgeous!!
I'm filing this so I remember it for later!
I am so glad you did come by. No worries on the button either. Thanks for letting me know you add it. I hope you did have fun. Have a great night. I can't wait to get to know you…
Holy Snikes! Those look amazing! My only fear is the boys touching them, you know throwing food at them or setting them on fire … LOL You just never know at my house 🙂
Those look amazing really I'm so impressed, I love your step by step pictures. You make it look so stinking easy, I'm so not sure I could pull it off but I'm going to try!
Thanks so much for stopping by and following. I see my bud Amy from Round Robin came over also! yeah 🙂
Those are beautiful! I had no idea they were simple to make. I'll have to try them out.
I love flower blossoms, but I am lazy and just purchased a Martha Stewart kit on clearence at Micheals. I used them for my mother's day tea last year and just loved how they look. There are some differences but my kitchen look eerily like yours:)
Hi there! Your flowers turned out so cute! I made some of those for a neighborhood PJ party this year and they were a big hit. I think they are so festive – perfect for a party!
How fun! And I love your blog header. Cupcakes, yum! Nice to meet you!
XOXO
Jen
A few more of those in the kitchen and your house would be ready to host a mardi gras party!
Thanks for visiting my blog.
Troy
Very cute idea!
very cute! I am going to borrow this idea for my son to make flowers for the moms in my family for Mother's Day! Nice Job! Your so creative! 🙂
Nicole
https://mamato3blessings.blogspot.com/
These are lovely. 🙂 Thanks for stopping by my blog. I'll be sure to stop back for some more fantastic ideas!
Those are some of may favorite party decorations they work for adults and kids…everyone loves them. Great tutorial.
Holly @ 504 Main
Great flowers for any occasion or party…have to give them a try! Thanks for stopping by.
oh !! thank you ! I finally succed to understand because of you ! On the site of martha I haven't understand ! so thank you very much !
sorry for my english, I'm french 😉
I've ALWAYS wondering how to do those!!! Thank you!
Gorgeous! I will definetly feature this when HowDoesShe focuses on parties! 🙂 Thanks for the great idea.
i'm speechless, that's an awesome creativity.
I was wondering how did you get them to stick to the ceiling?
Thanks!
Katherine
I tucked the ribbons underneath the edges of the ring around the lights in the ceiling