Skip to content
Facebook
Pinterest
Instagram
Twitter
YouTube
Don't forget where to find these great recipes,
get my emails
Home
Blog
About
Expand
Welcome to my blog!
Favorites
Ebooks
The ultimate low-carb help for beginners and beyond
Recipe Index
Contact
Subscribe
Search
Toggle Menu
Search
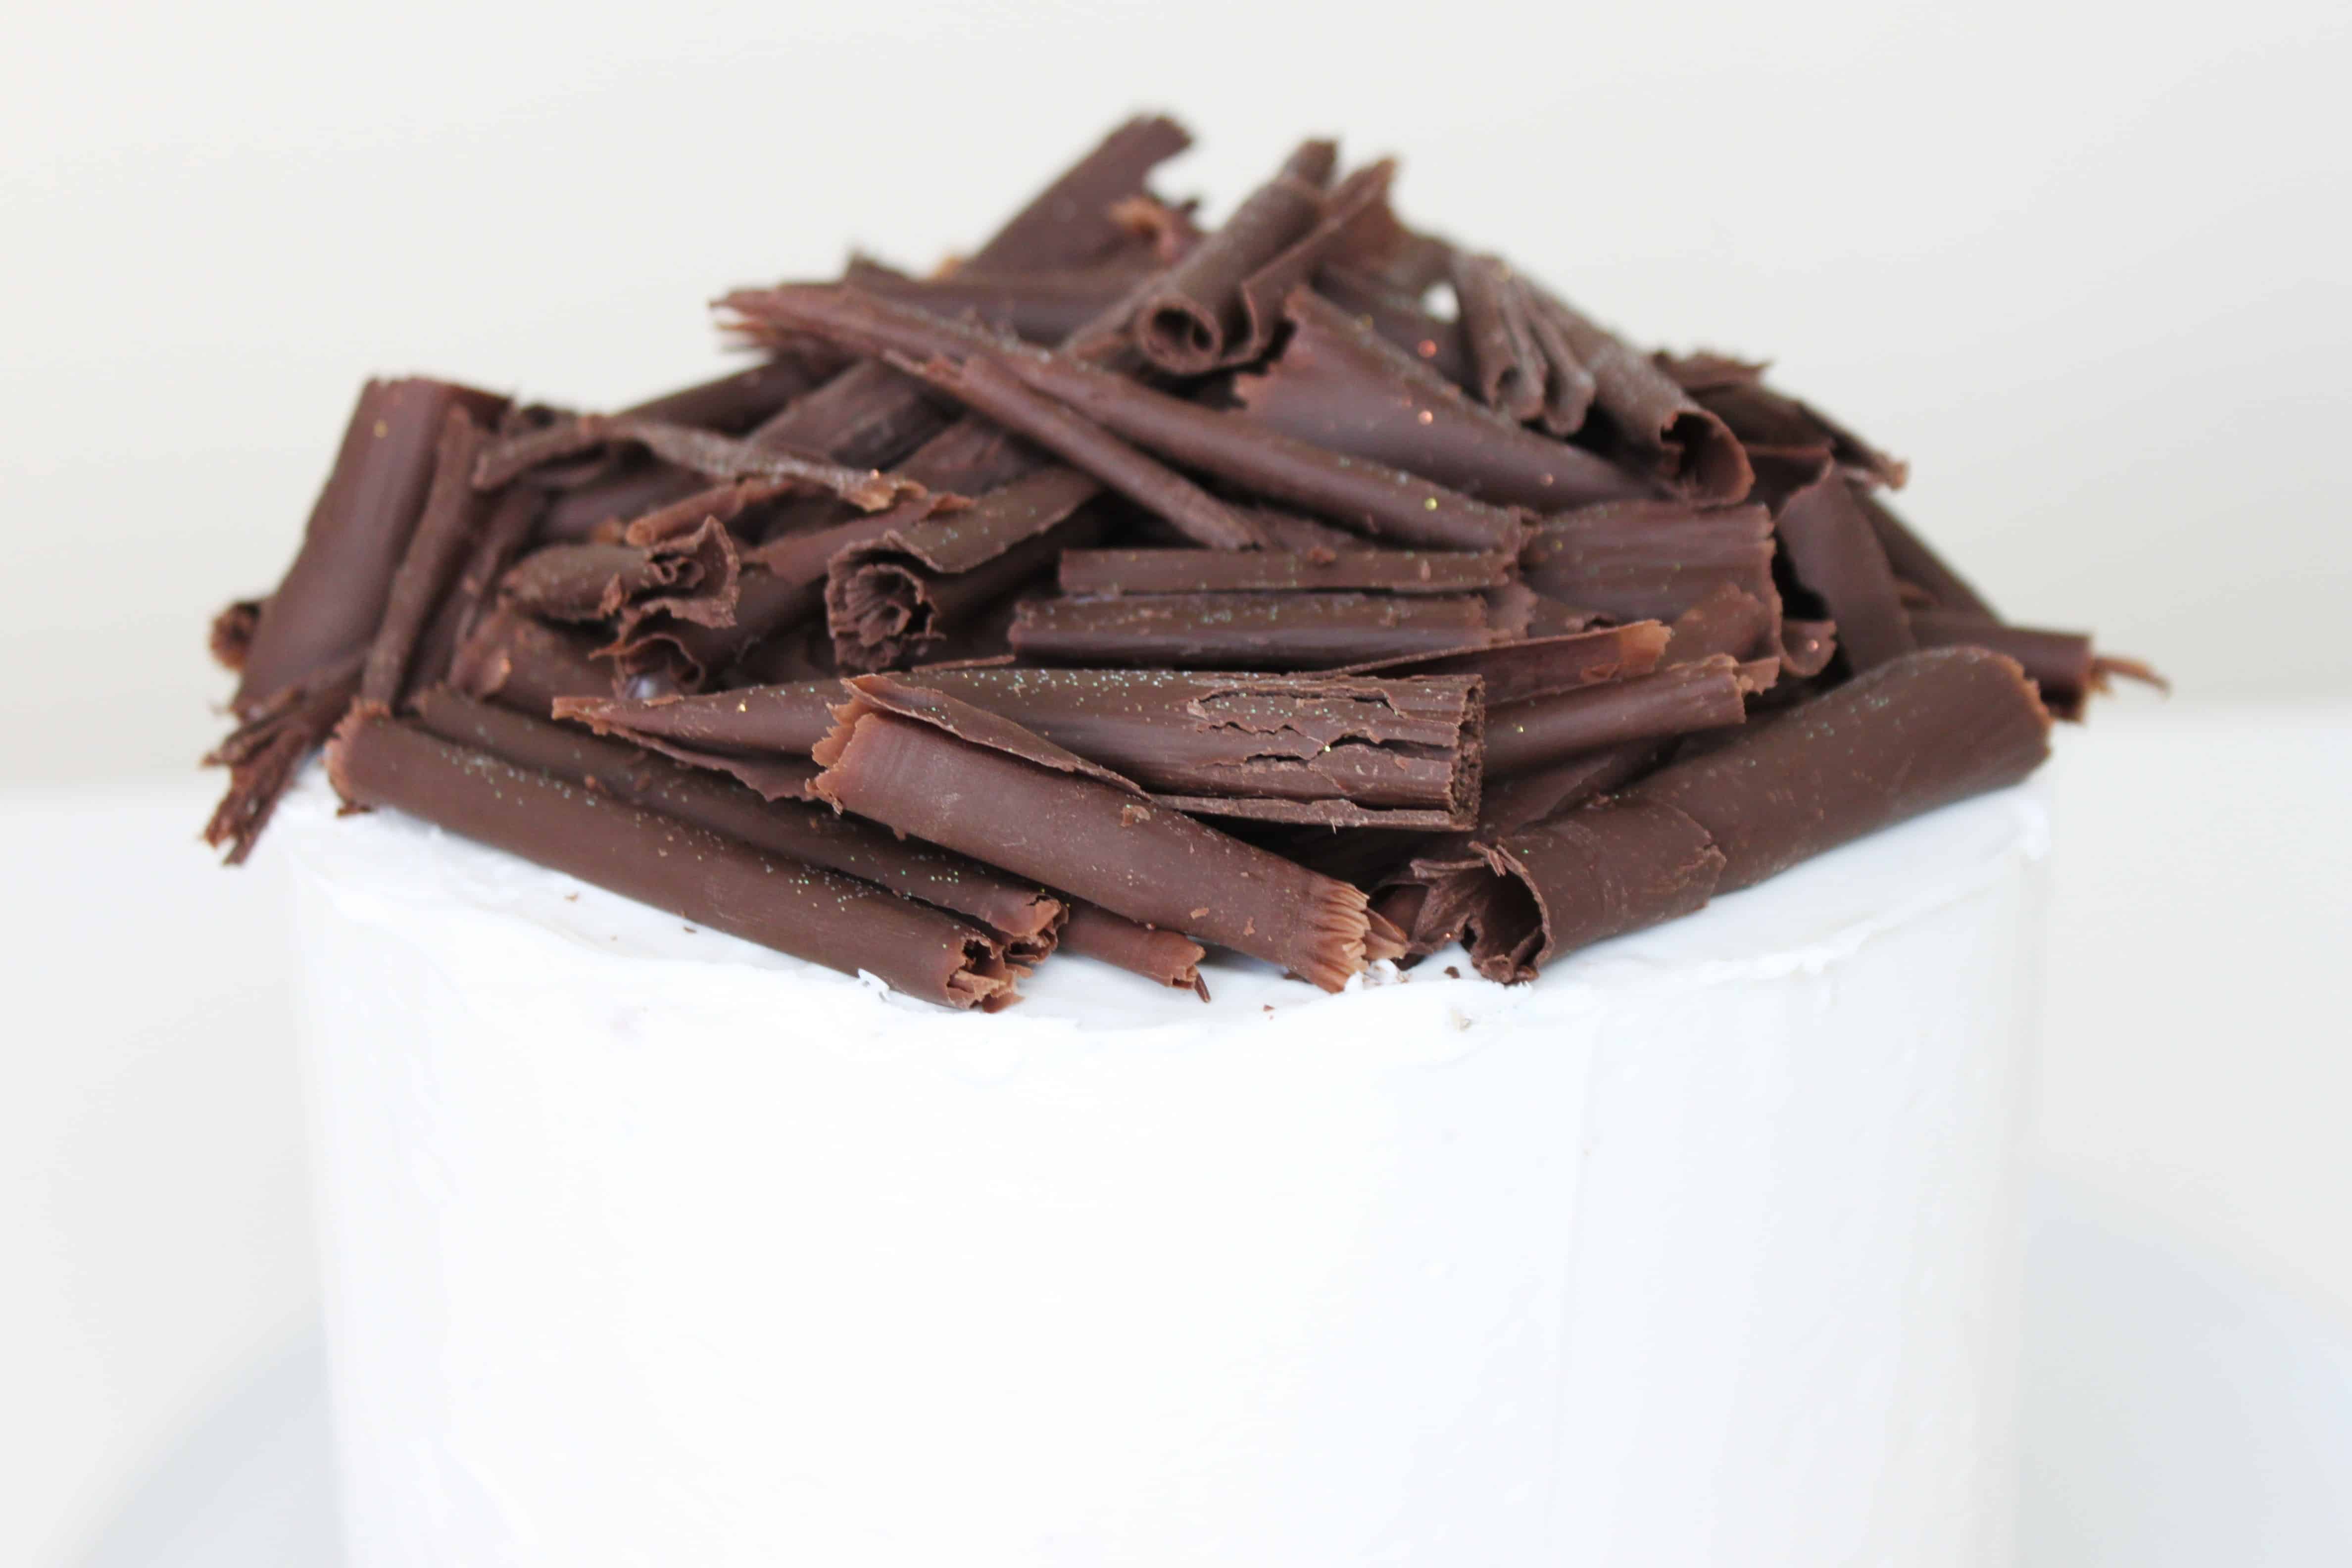
chocolate curls on top of a cake
Scroll to top
Scroll to top
Home
Blog
About
Toggle child menu
Expand
Welcome to my blog!
Favorites
Ebooks
The ultimate low-carb help for beginners and beyond
Recipe Index
Contact
SUBSCRIBE
Facebook
Twitter
Instagram
Pinterest
YouTube
Toggle Menu Close
Search for:
Search